Marketing → Widgets → Clabs Widgets
- How to create a widget
- How to List your widgets
- How to edit a widget
- How to install a widget
- How to delete a widget
How to create a widget
-
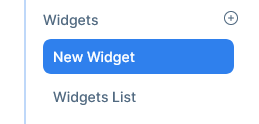
Go to Marketing - >Widgets → CLabs Widgets
-
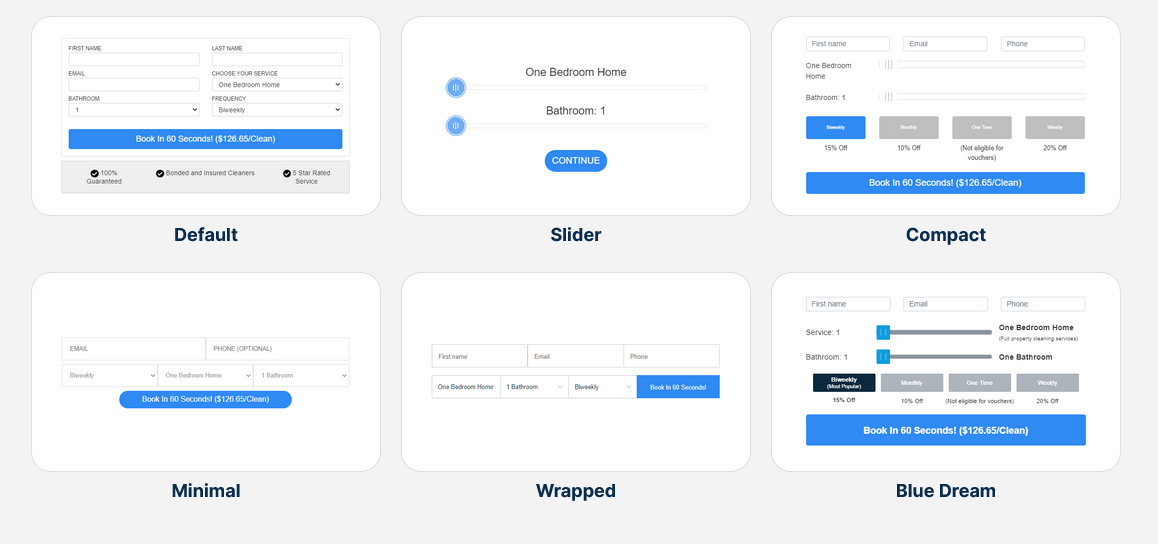
Select one of the widgets available
-
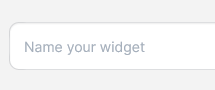
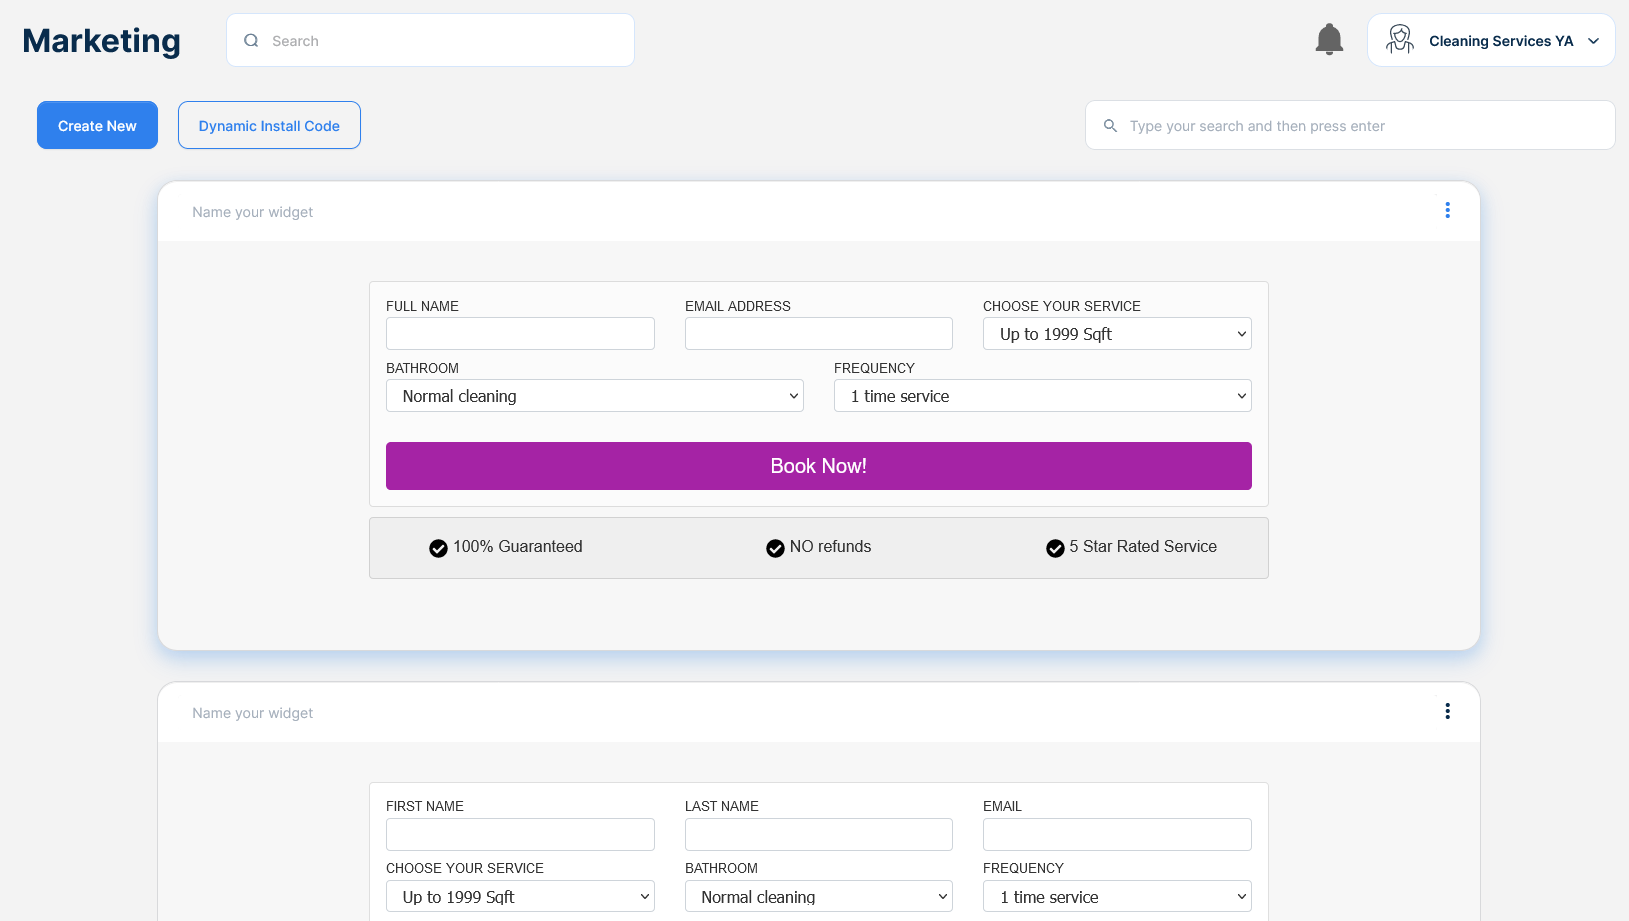
Name your widget
-
Use the tabs to modify the fields and behavior of your widget
-
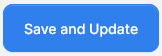
When done click Save and update
How to List your widgets
-
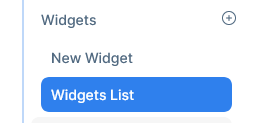
Go to Marketing - >Widgets → My Widgets

-
On the right a list of all the widgets created will appear
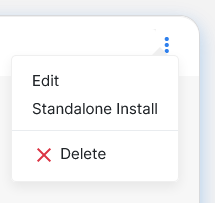
How to edit a widget
-
Go to Marketing - >Widgets → My widgets
-
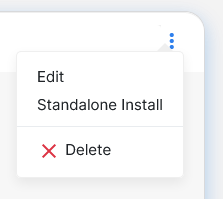
Select a widget, click the … menu and choose the edit option
-
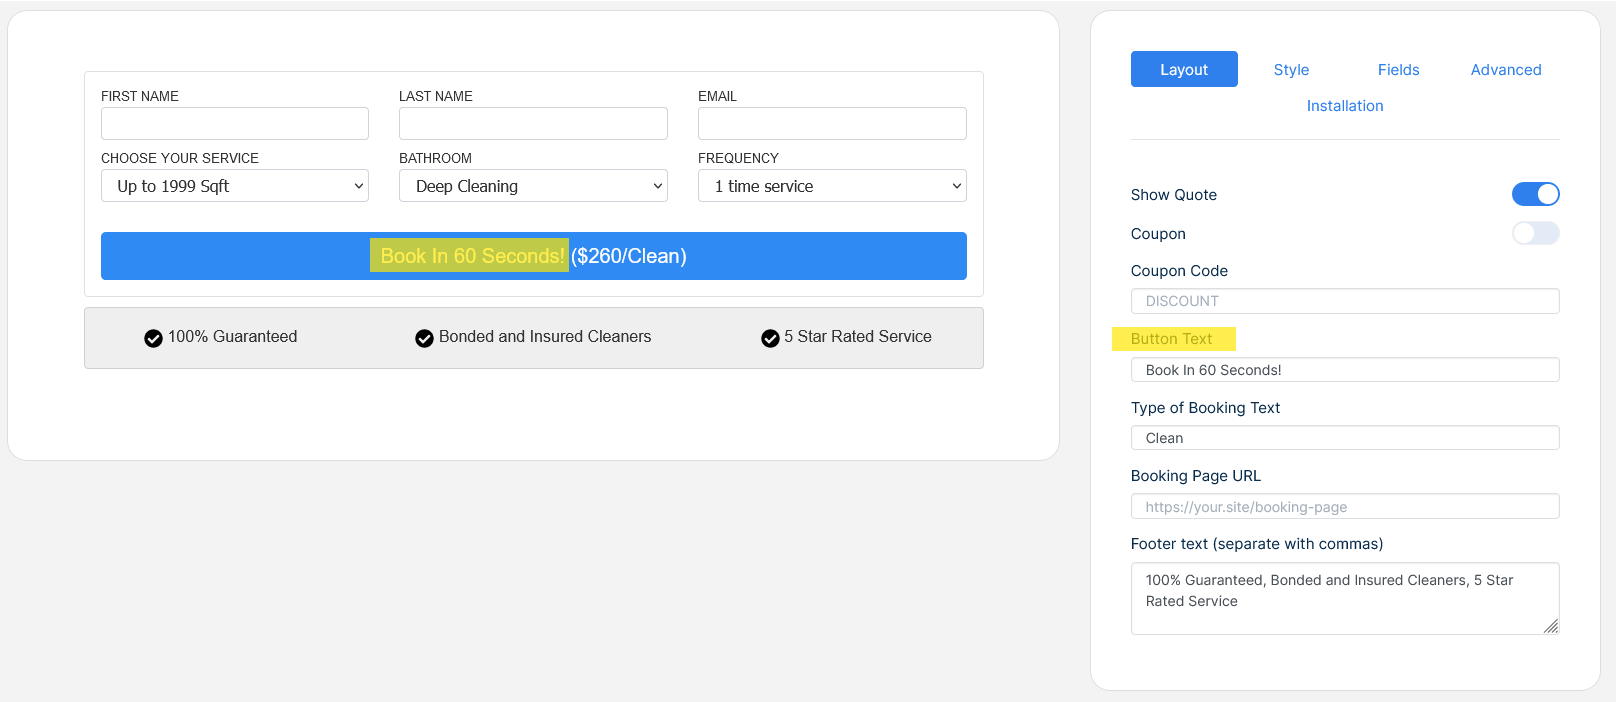
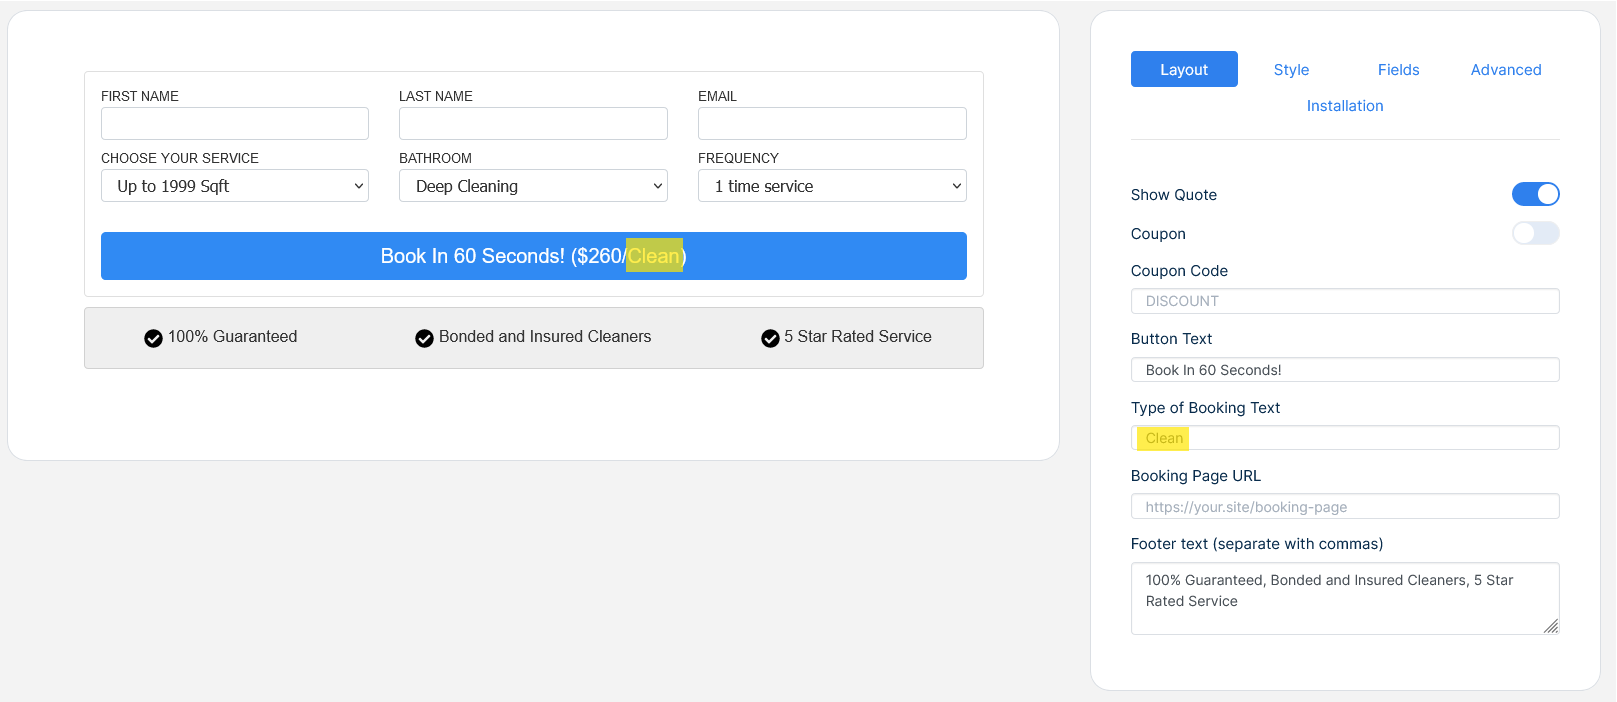
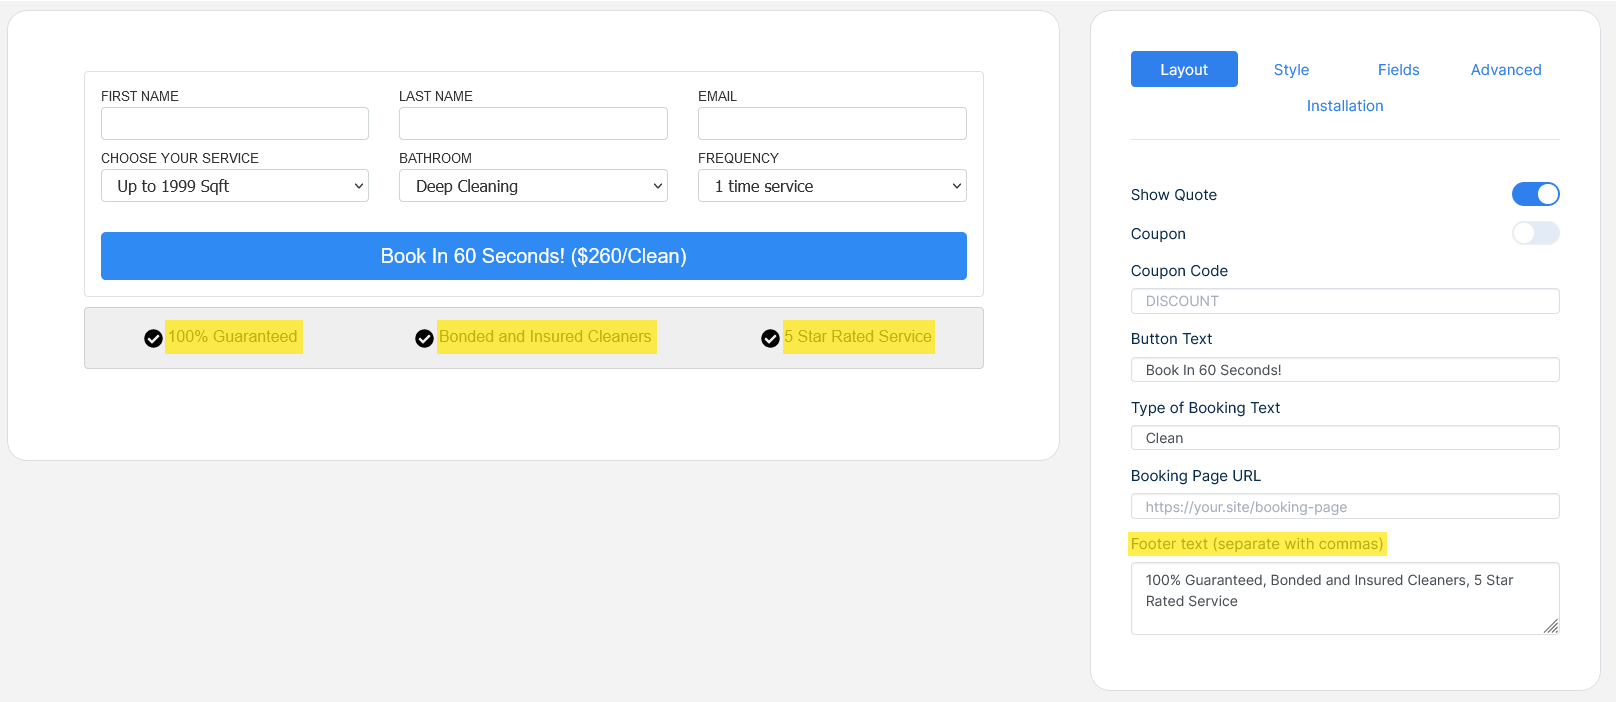
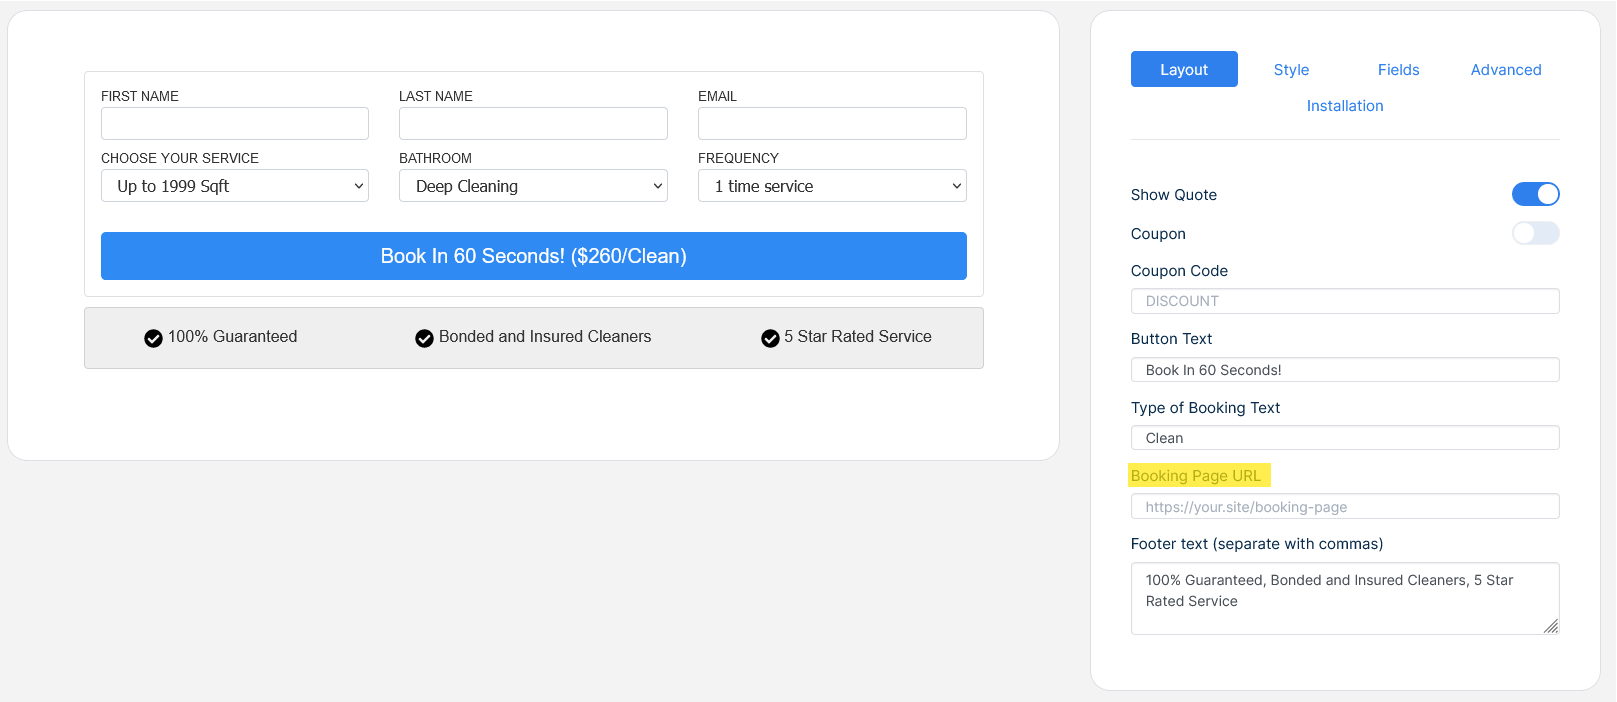
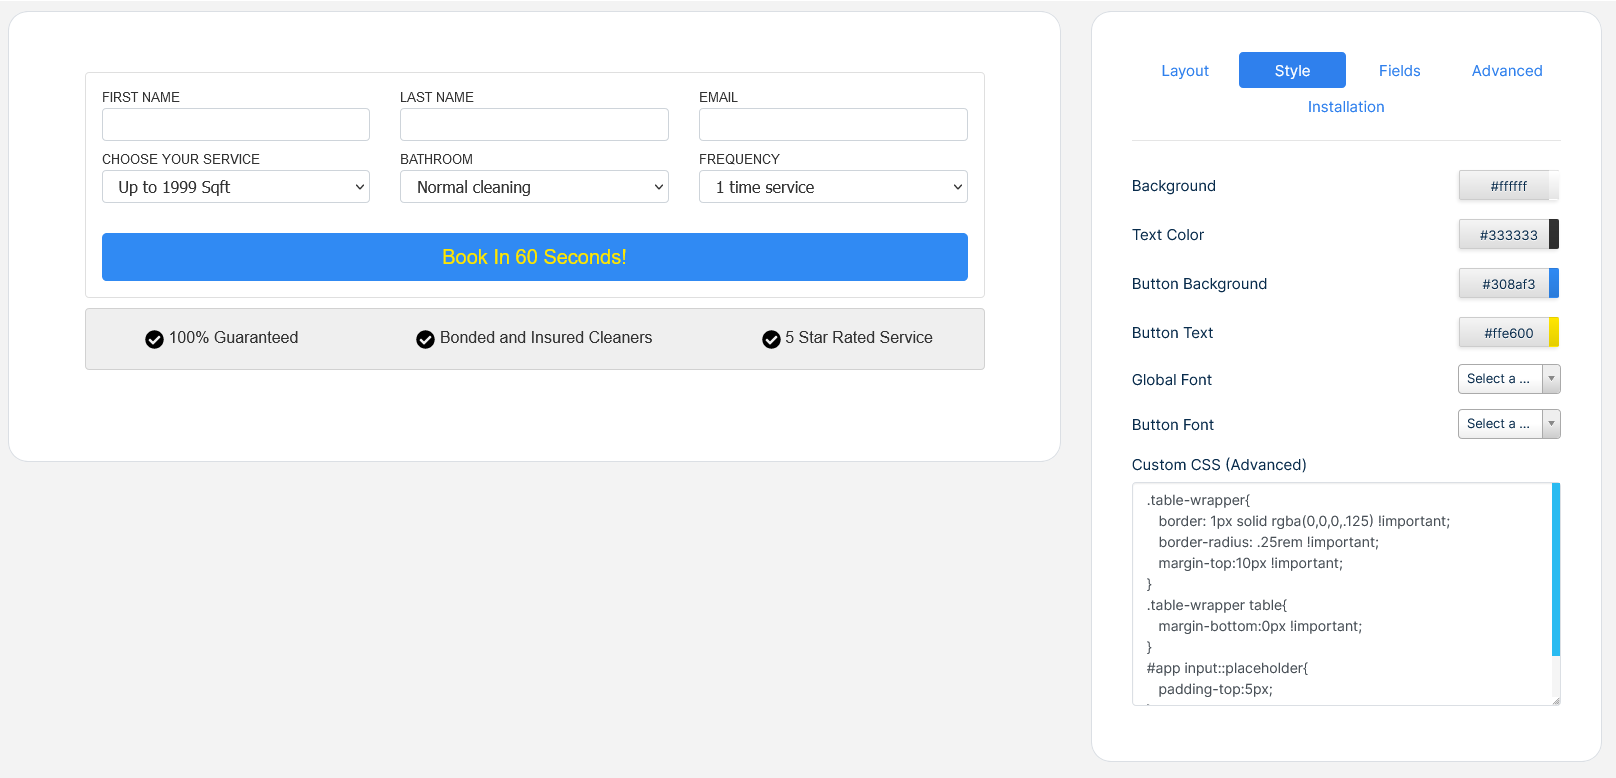
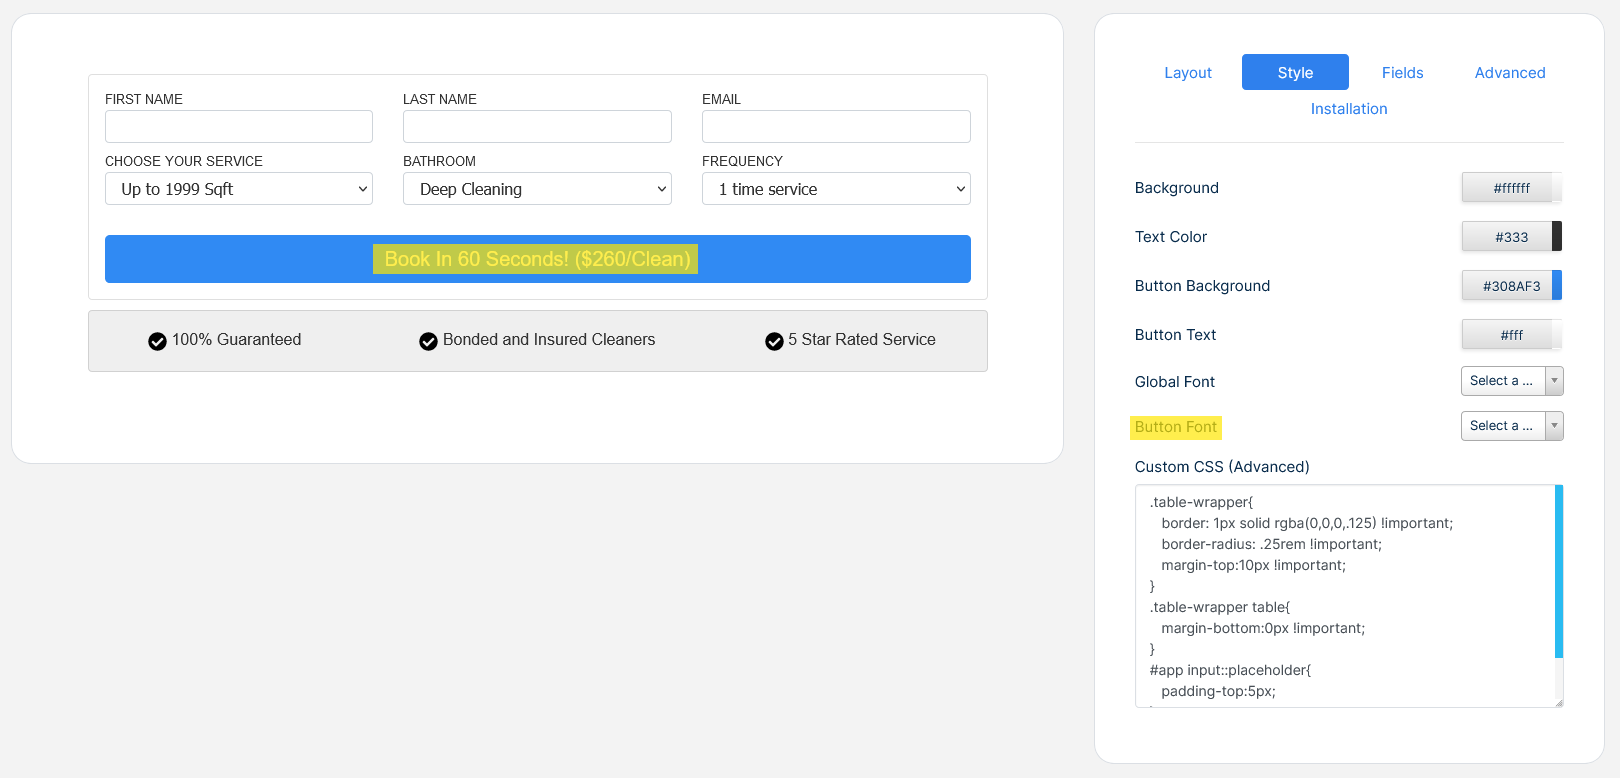
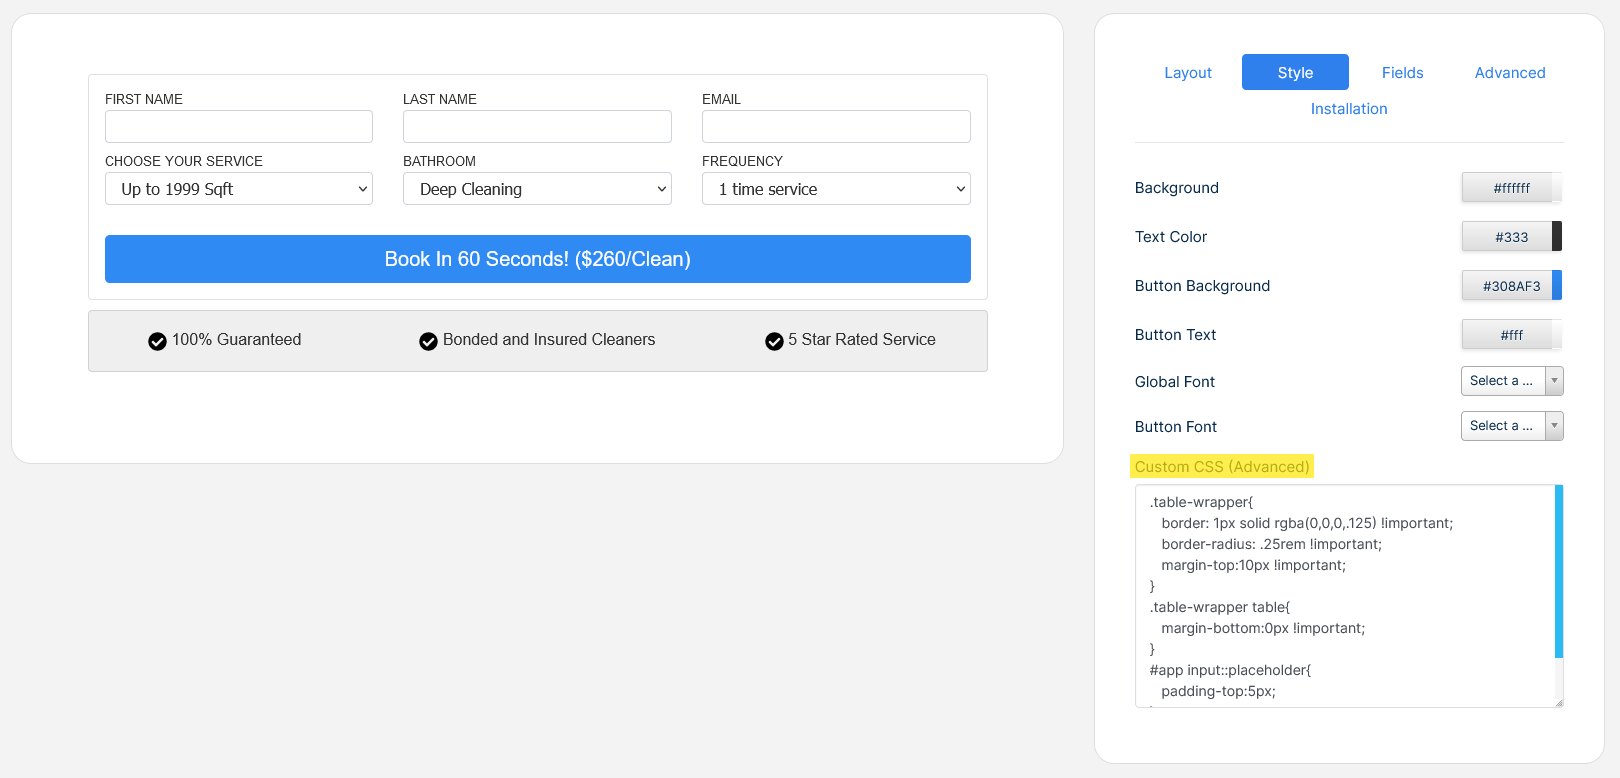
Each tab modifies certain part of the widget, the layout tab controls the following
Show Quote
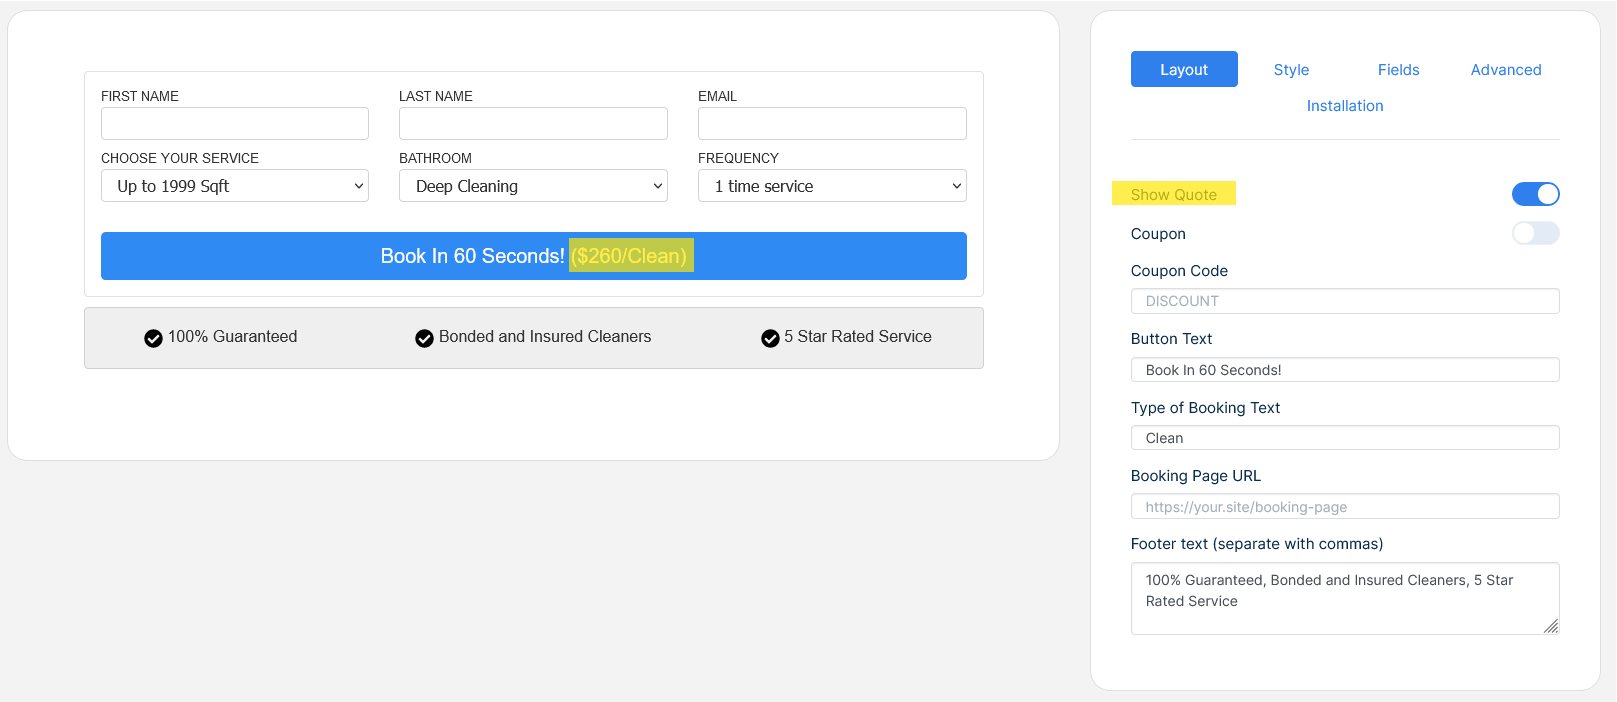
Button Text
Type of booking text
Footer Text
Booking page URL: When clicking the button the widget will redirect the browser to the specified URL
-
The yellow sections indicates what the Style Tab controls
Background
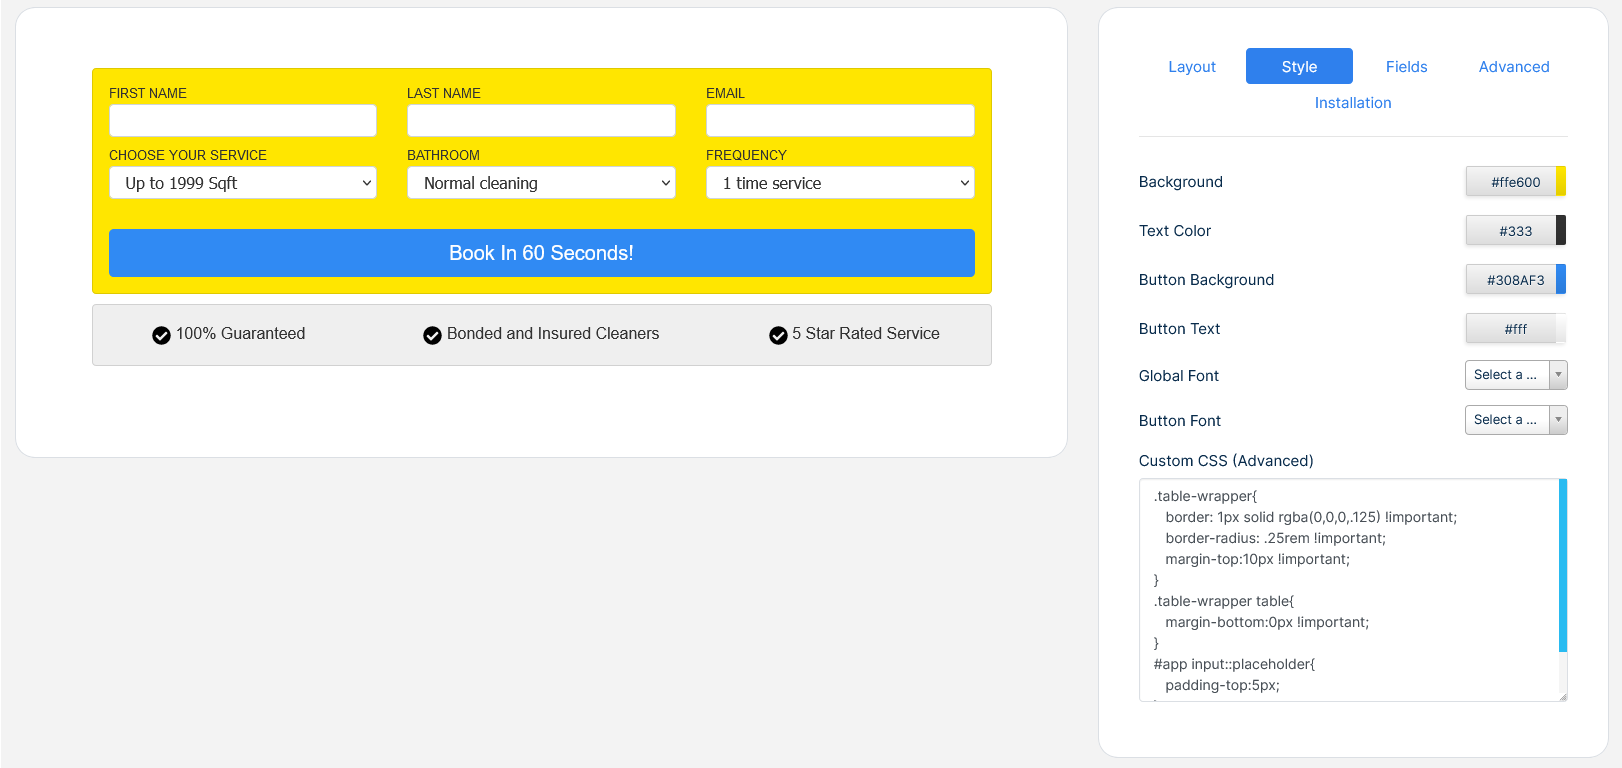
Text Color
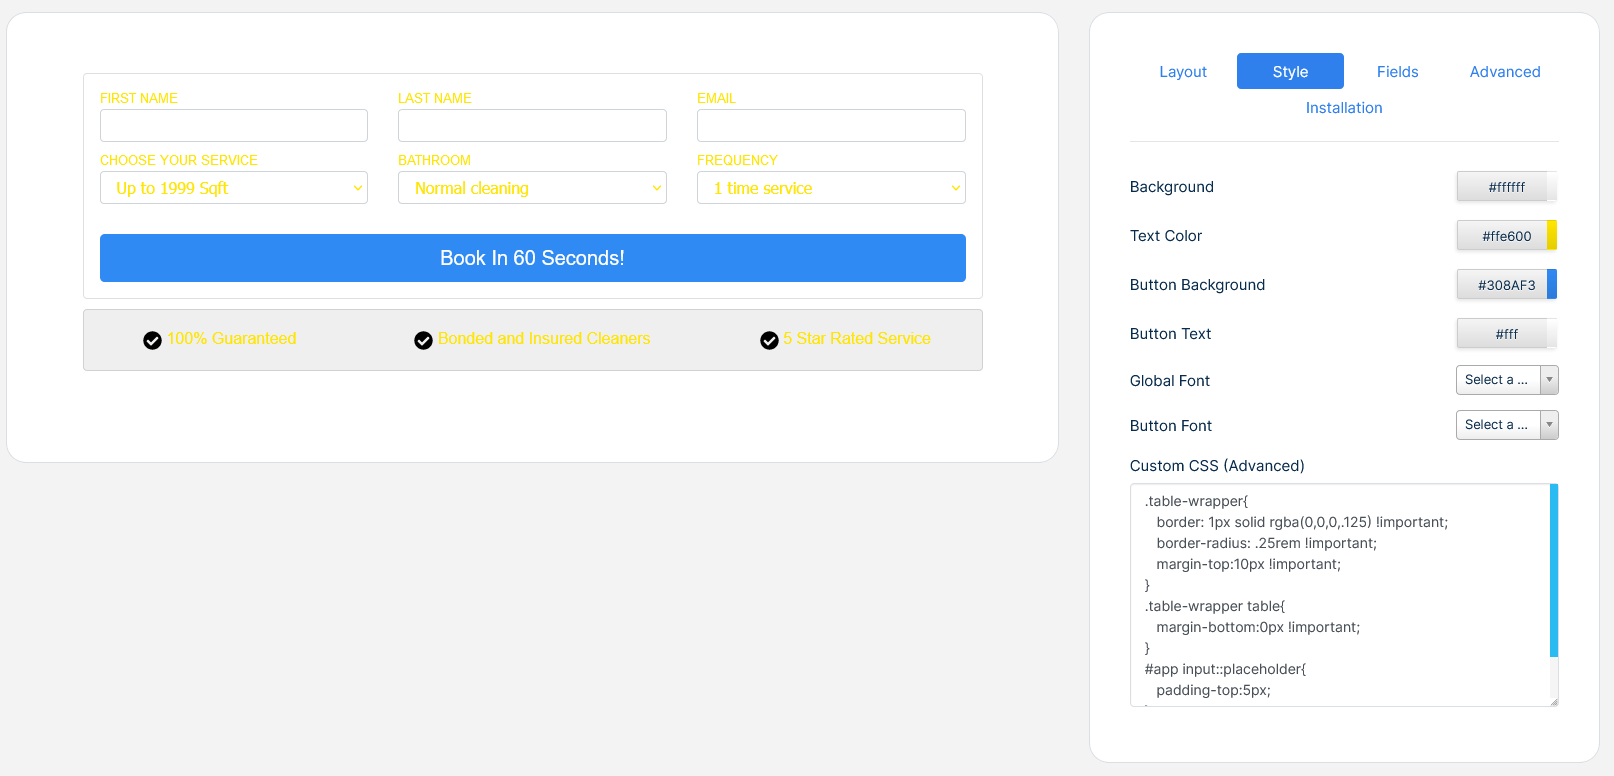
Button Background
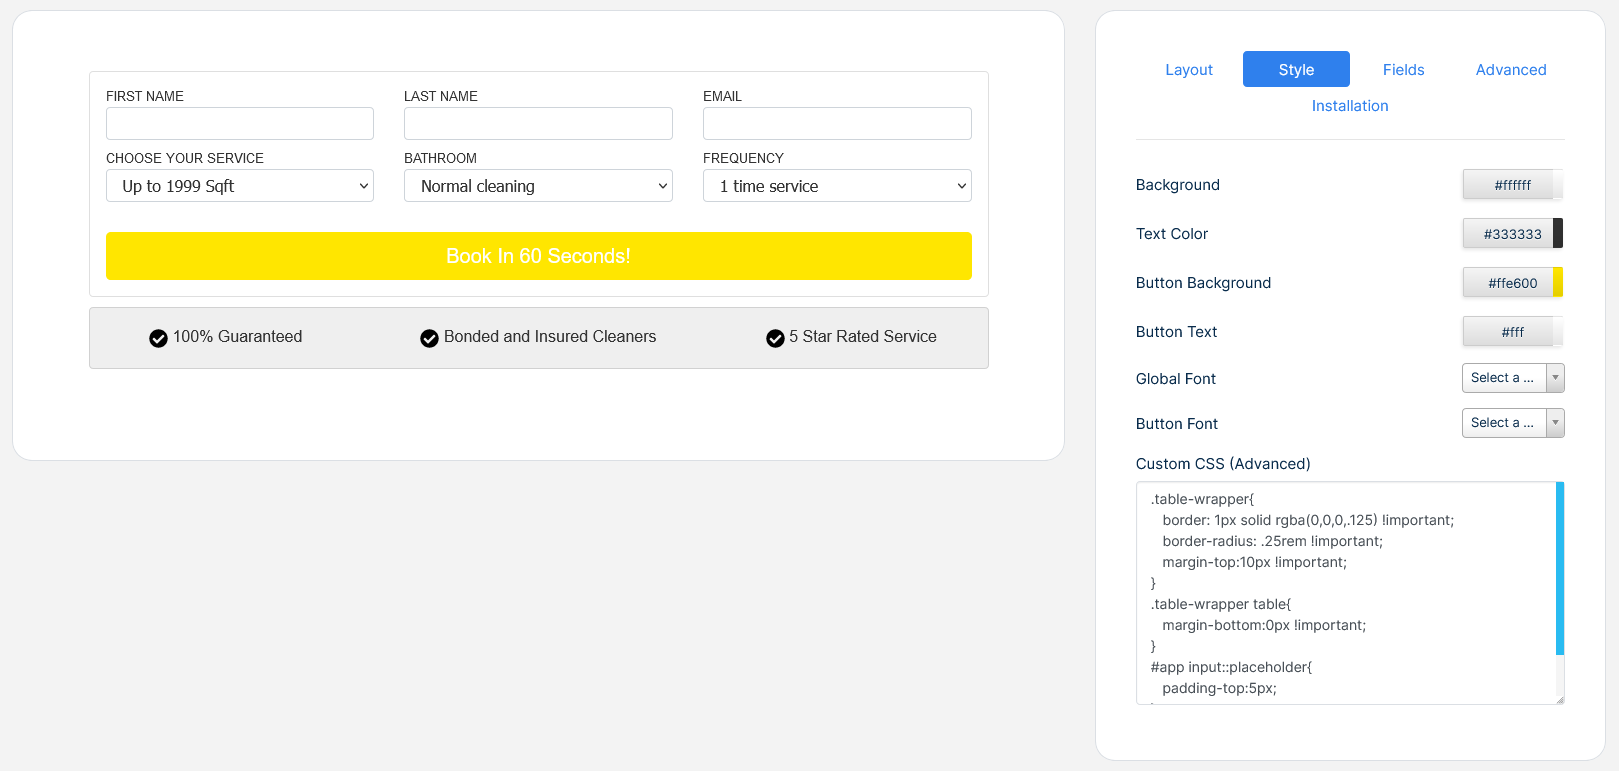
Button Text
Global Font
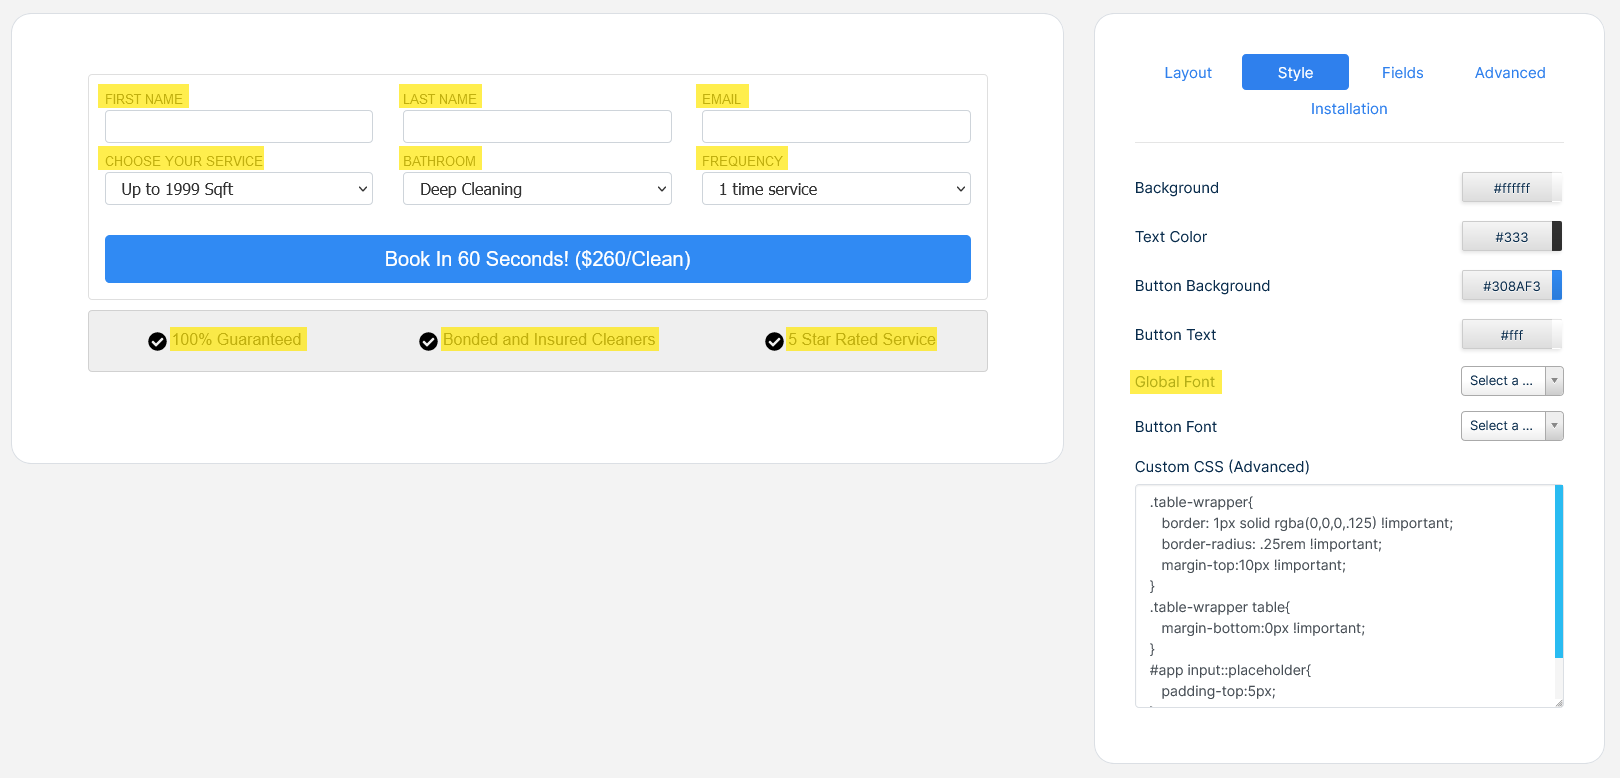
Button Font
Custom CSS (Advanced): this section controls the appearance of the entire widget via CSS. We recommend only edit this section if you have knowledge of HTML and CSS.
-
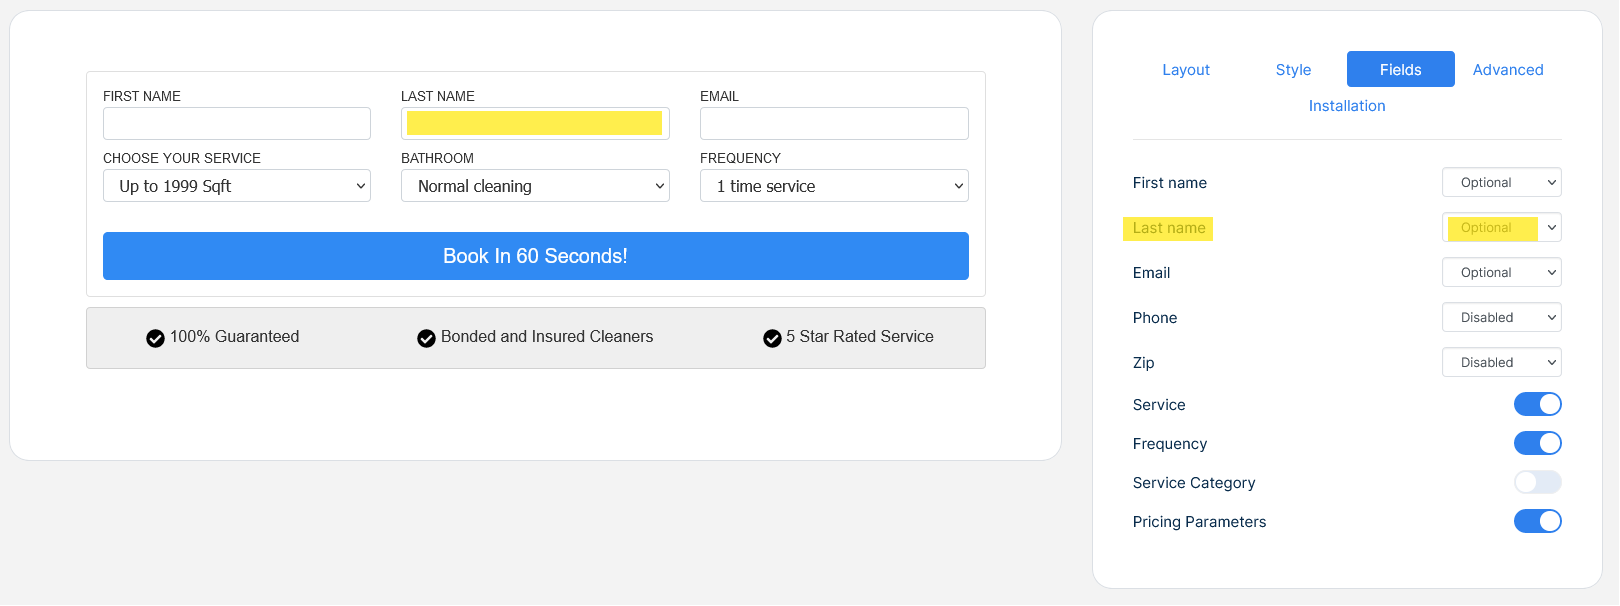
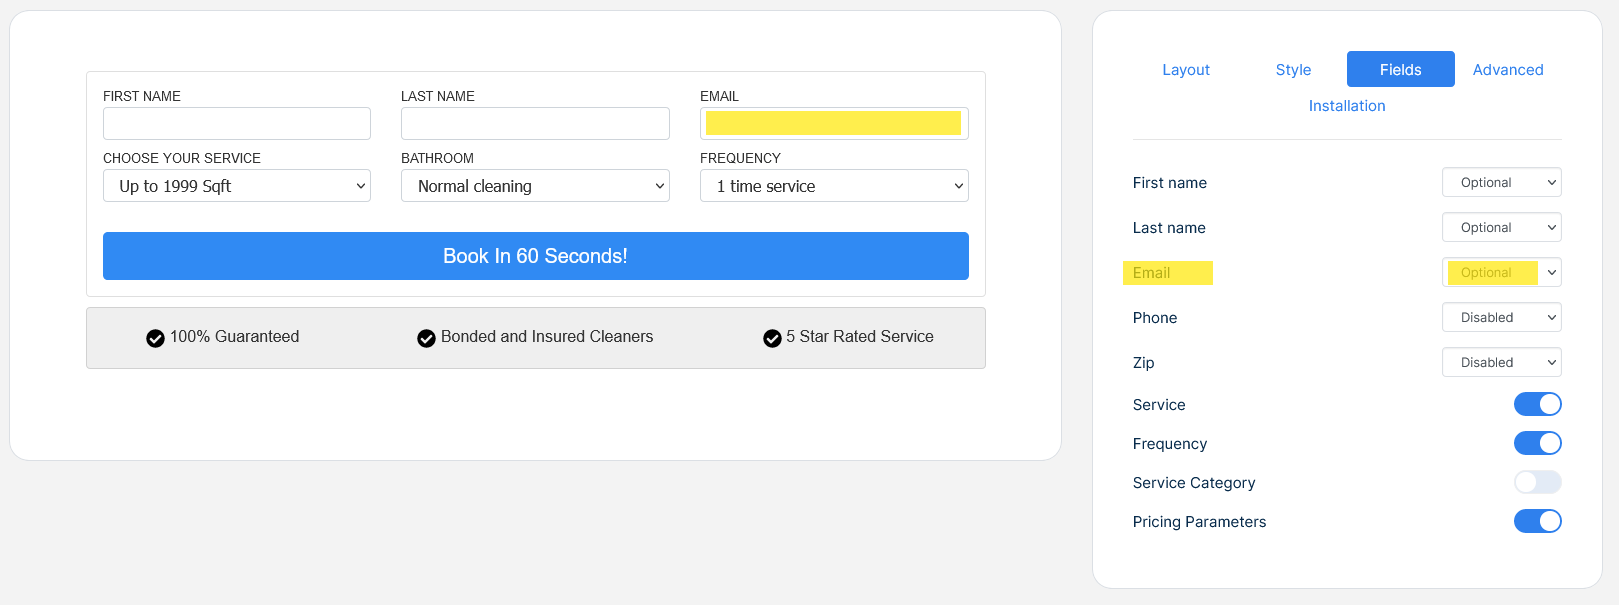
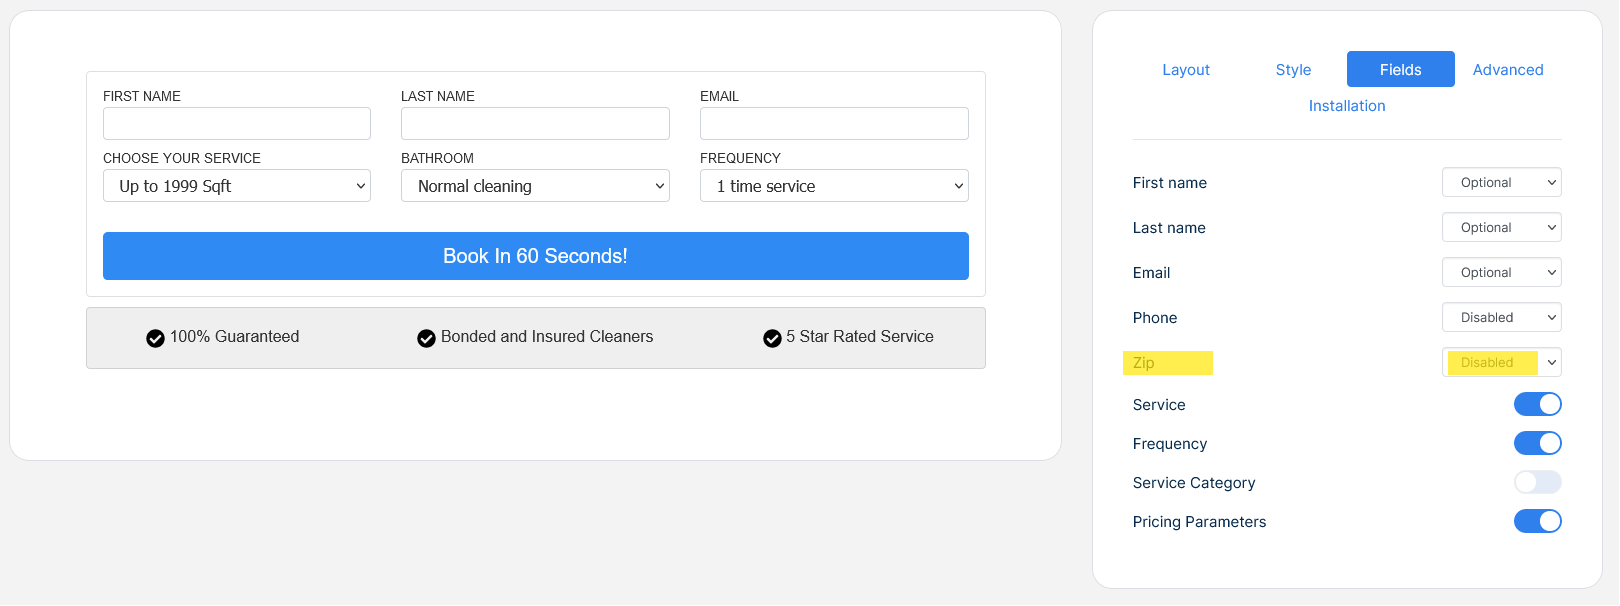
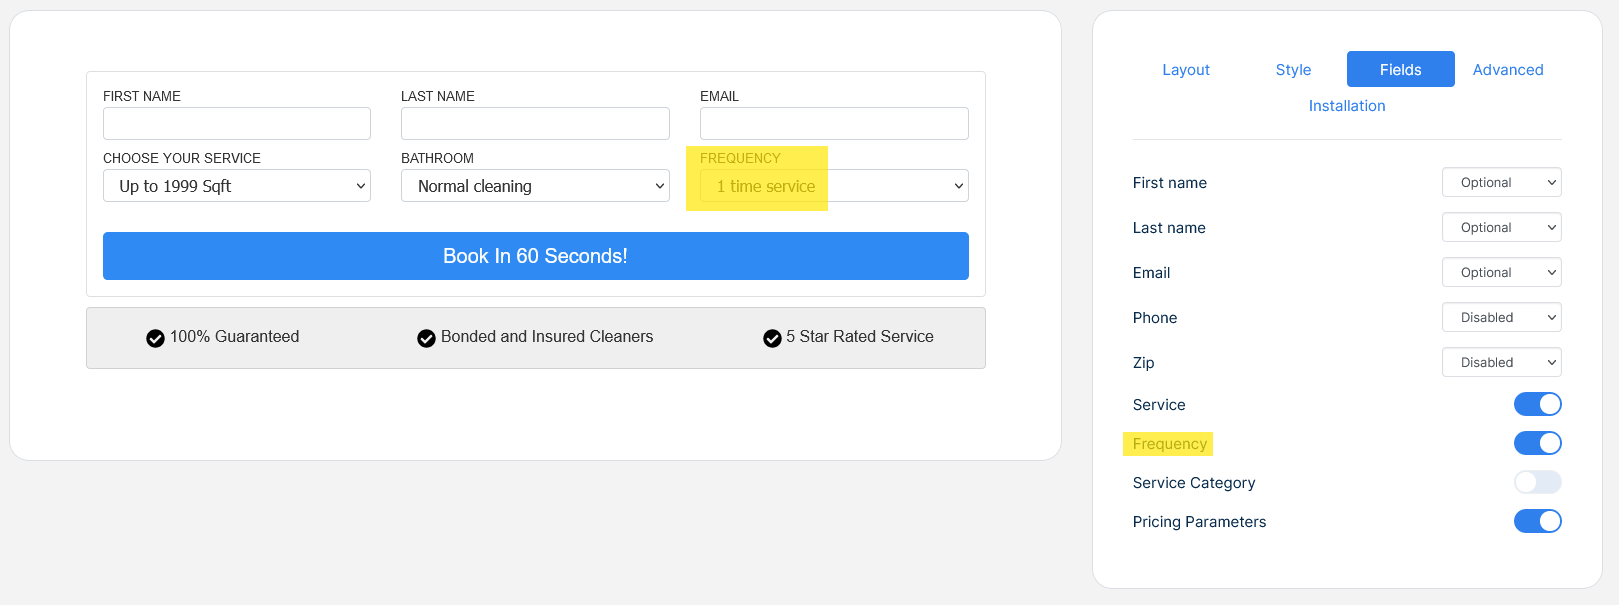
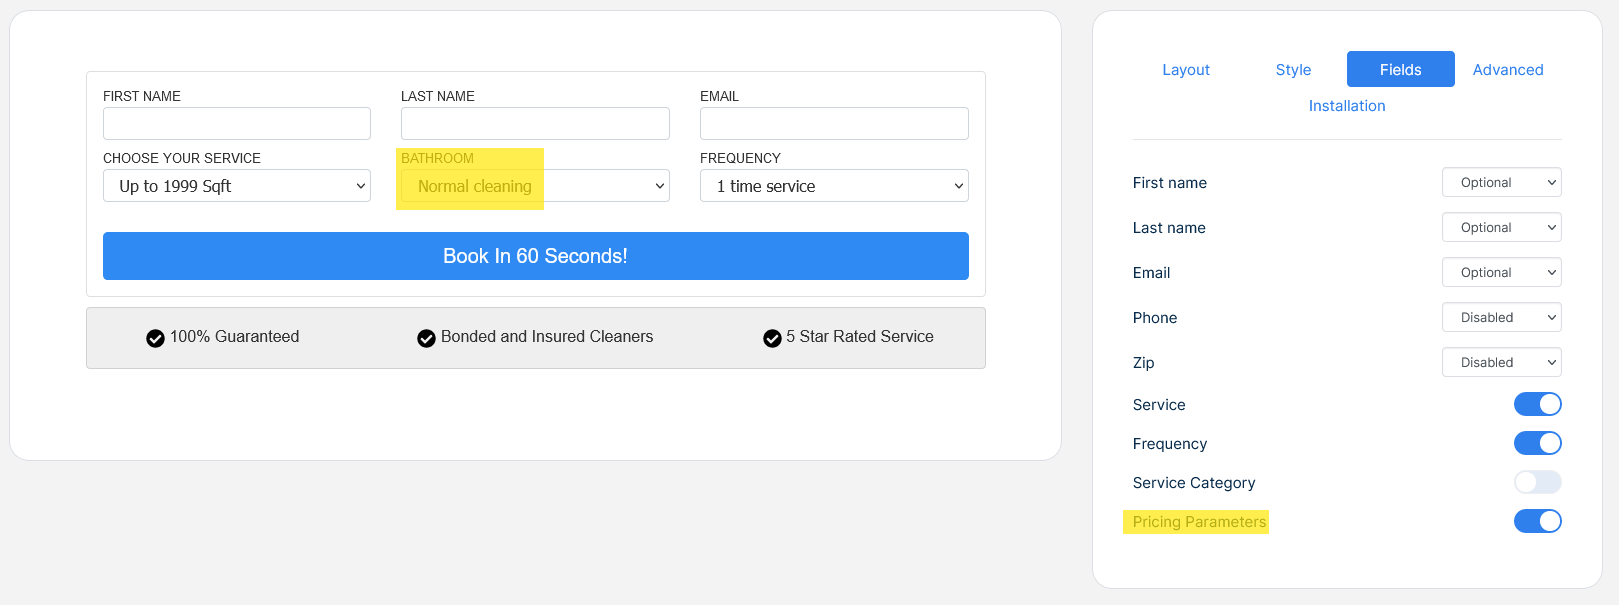
The Fields tab controls the following widget areas
First name. Select from the drop down list any of the following options:
Optional: the client could leave this item blank
Required: the client must complete the item
Disabled: the item will be hidden entirely

Last name. Select from the drop down list any of the following options:
Optional: the client could leave this item blank
Required: the client must complete the item
Disabled: the item will be hidden entirely
Email. Select from the drop down list any of the following options:
Optional: the client could leave this item blank
Required: the client must complete the item
Disabled: the item will be hidden entirely
Phone. Select from the drop down list any of the following options:
Optional: the client could leave this item blank
Required: the client must complete the item
Disabled: the item will be hidden entirely

Zip. Select from the drop down list any of the following options:
Optional: the client could leave this item blank
Required: the client must complete the item
Disabled: the item will be hidden entirely
Service. Shows or hides the corresponding field

Frequency. Shows or hides the corresponding field
Service Category. Shows or hides the corresponding field

Pricing parameters. Shows or hides the corresponding field
-
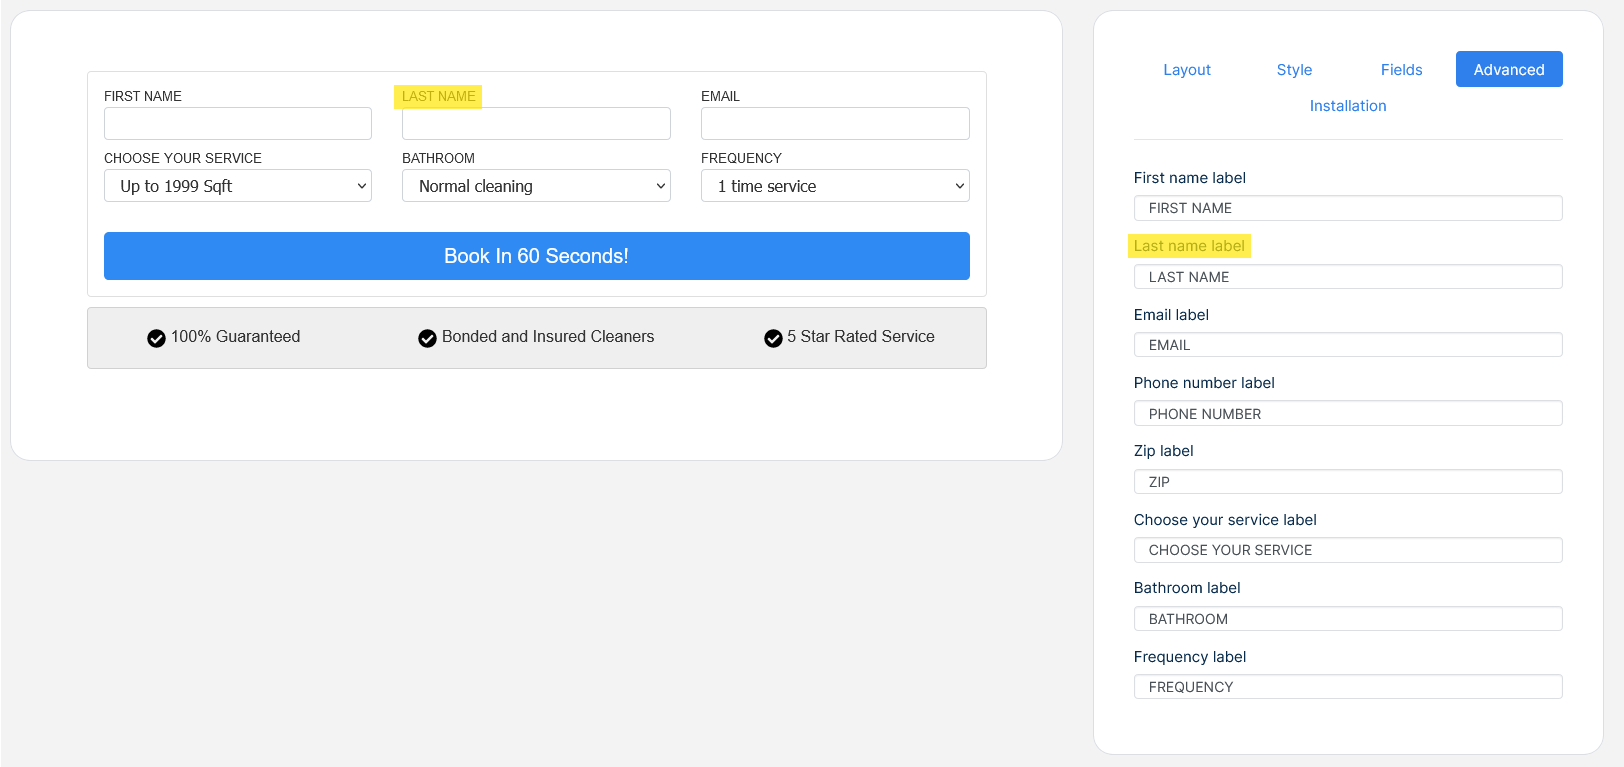
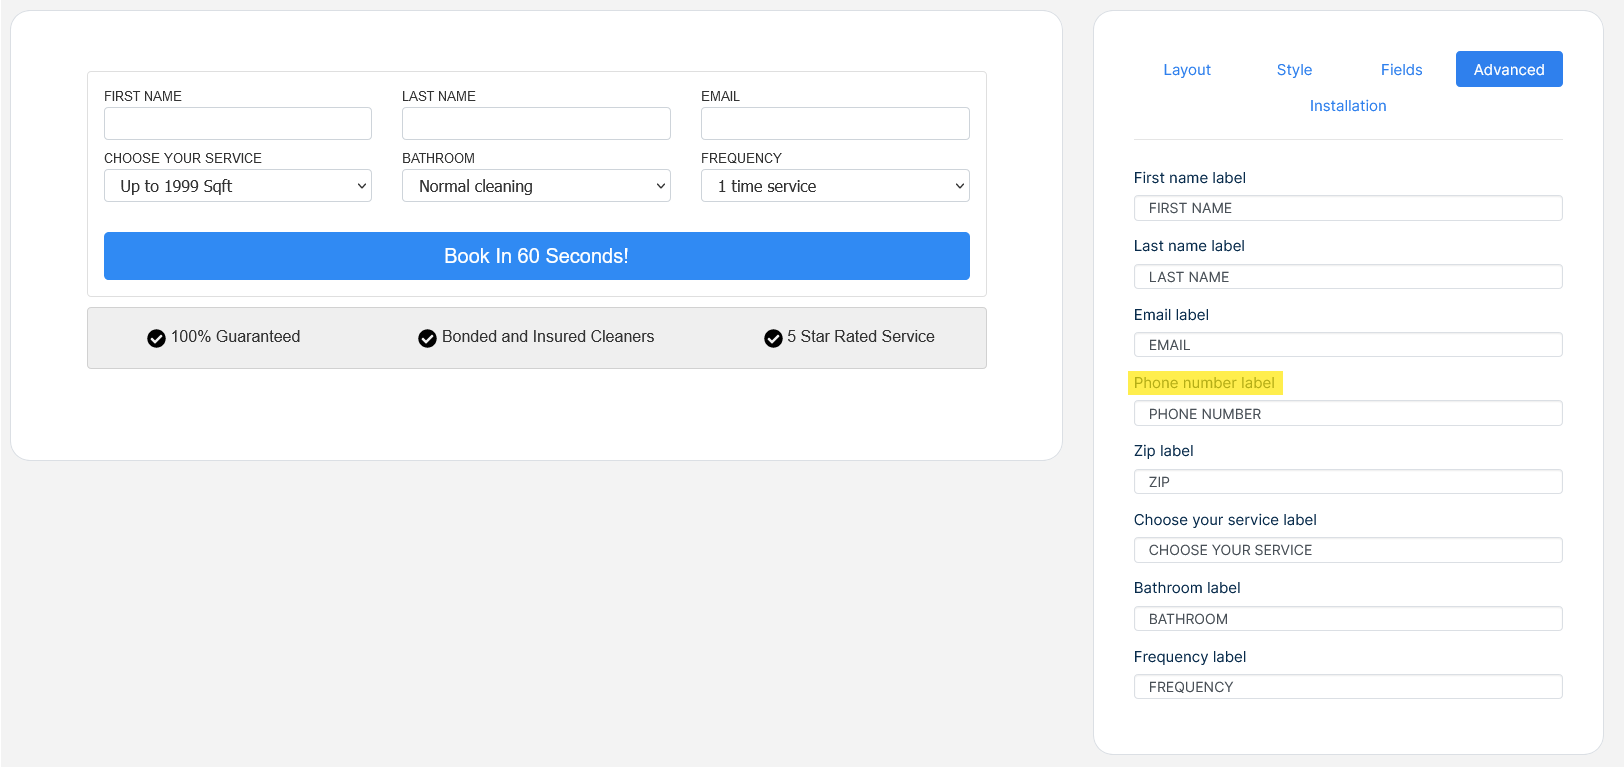
The advanced tab controls the following widget areas
First name label

Last name label
Email label

Phone number label
Zip label

Chose your service label

Bathroom label

Frequency label

How to install a widget
-
Go to Marketing - >Widgets → My widgets
-
Select a widget, click the … menu and choose the edit option
-
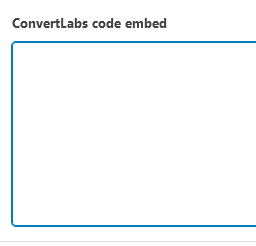
Go to the installation tab and copy the code on display

-
Paste the code where you want the widget to be displayed, i.g your website’s header or footer, or some place it plainly indicates.
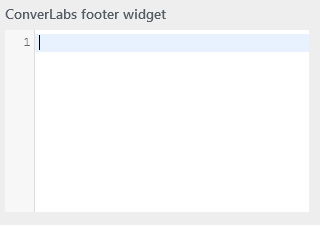
Customizer footer option on ConvertLabs themes
When editing a page in a ConvertLabs Theme.
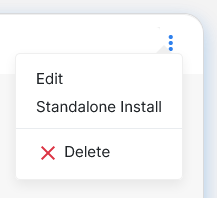
How to delete a widget
-
Go to Marketing - >Widgets → My widgets

-
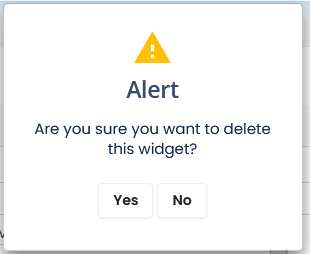
Select a widget, click the … menu and choose the Delete option
-
Confirm the message to delete the widget